Geo-Fix® Original Application
Here’s our step by step guide to applying Geo-Fix® Original
Step 1
Thoroughly rake out all the existing joints, removing all weeds and plant growth, including roots. If Moss or Mould is present treat whole area with a propitiatory mould and algae remover.
ALLOW TO DRY THOROUGHLY FOR 48 HOURS BEFORE PROCEEDING, SURFACES & JOINTS MUST BE TOTALLY DRY BEFORE APPLYING GEO-FIX® ORIGINAL .
Step 2
GEO-FIX® Original should be considered for its aesthetic and not its structural properties, therefore, all paving must be firmly fixed using an appropriate bedding technique to prevent settlement and movement.
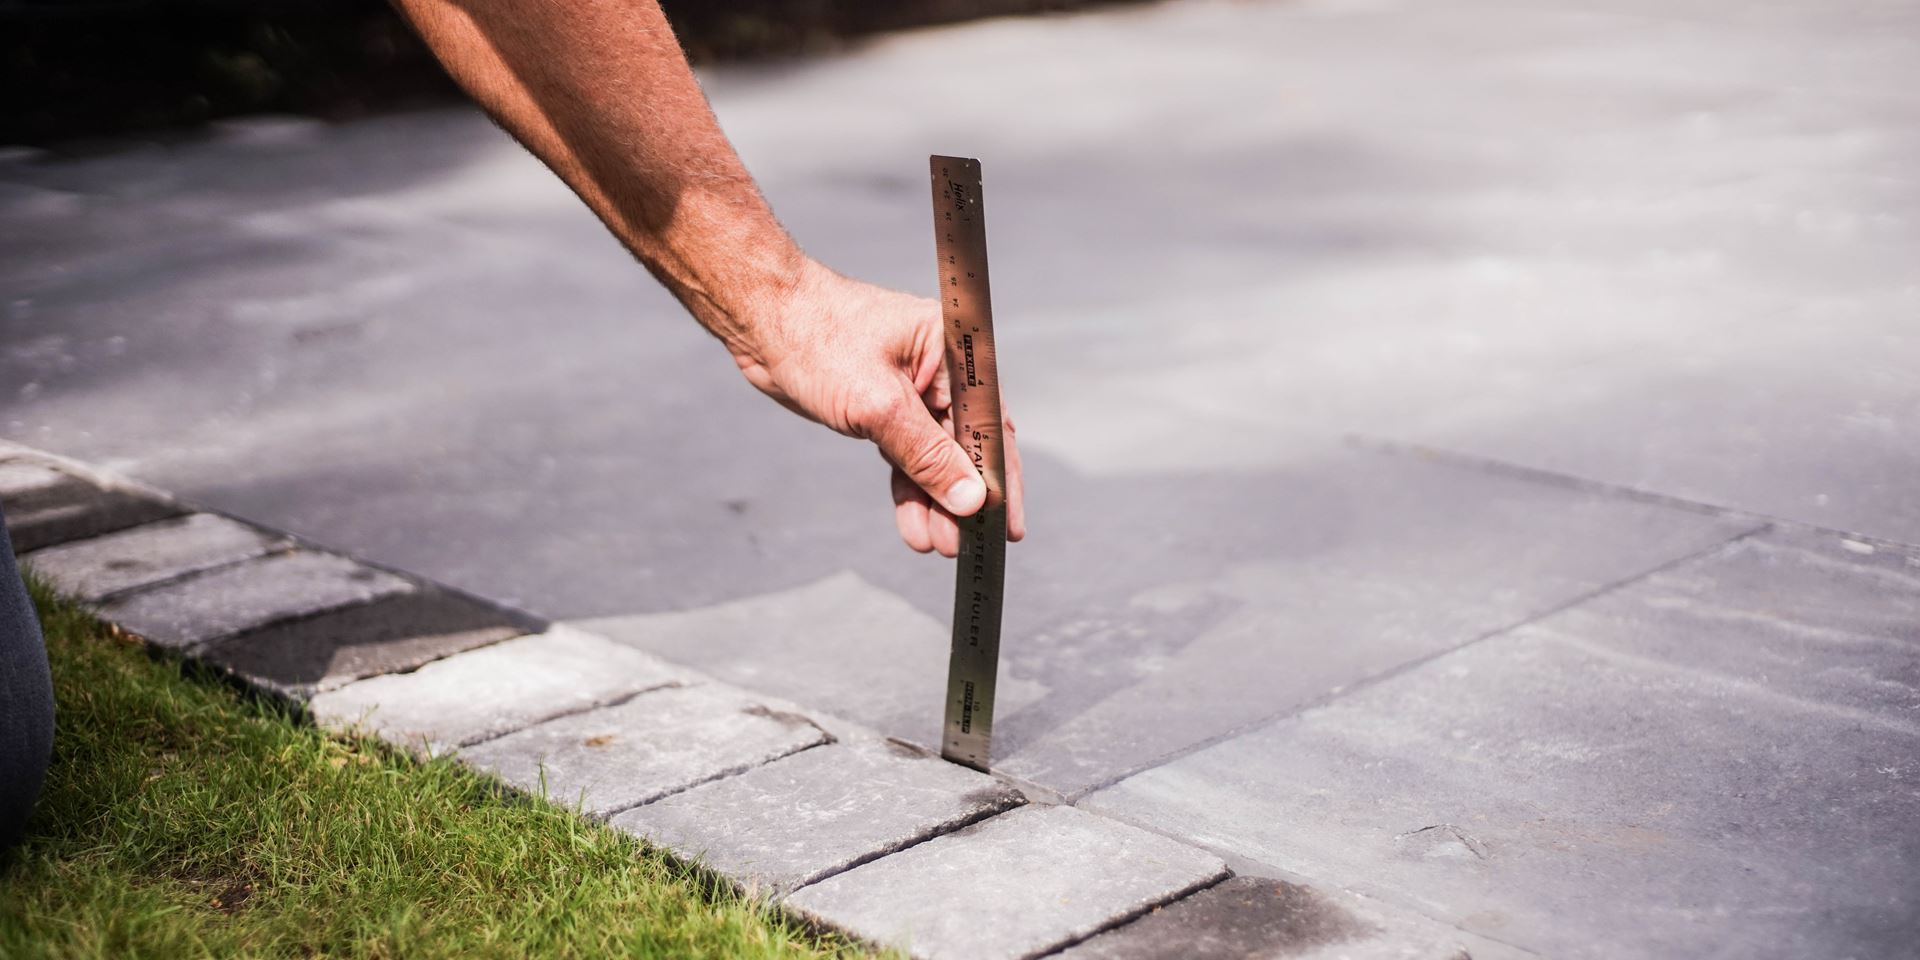
Step 3
Using a soft brush, push the Geo-Fix® Original compound into the joints at a 45° angle. Work in small areas of approx. 2-3 square metres at a time. Once opened the entire bag must be used within 30 -45 minutes (*temperature dependent).
Step 4
Firmly compact Geo-Fix® Original with a pointing tool, refill and repeat ensuring a fully compacted & topped joint. Firm compaction is the key to the successful laying of Geo-Fix® Original. Ensure Geo-Fix® Original is finished slightly below the surface. by finishing with a suitable pointing tool before moving onto the next area.
Step 5
After application, brush off excess with a soft brush, taking care not to brush out any Geo-Fix® Original from the treated area. Geo-Fix® Original will harden over a 2-3 hour period subject to temperature.**
*At 20°C and 50% relative air humidity , the working time is reduced to 30 minutes.
**Setting time 2 – 6 hours at 20°C, 6 – 12 hours at 5°C
Technical Specification
14 kg hermetically sealed vacuumed packed foil bags
Approx. 45 minutes. At 20°C and 50% relative air humidity the working time reduces to 30 minutes.
-3 °C to + 30 °C
Geo-Fix® Original Jointing Compound has a minimum shelf life of 24 months when stored in unopened containers in accordance with the manufacturer’s instructions.